The side yard is where good fencing goes to die. It’s narrow, it’s usually the route for the trash cans, and whatever gate is there was probably installed by whoever built the house and hasn’t been loved since.
Every cut list below is worked for the same opening so you can compare them honestly: 48 inches post to post, 60 inches tall. Adapting to your opening is one subtraction, and I’ll show you where.
The measurement that ruins most side gates
Your gate is not as wide as your opening.
Measure post to post at the top, the middle, and the bottom. Posts lean, so use the smallest of the three. Then subtract the gaps:
- 3/8 inch on the hinge side, so the gate can swing without binding
- 1/2 inch on the latch side, so seasonal swelling doesn’t jam the latch shut in July
For a 48-inch opening that’s 48 − 0.375 − 0.5 = 47-1/8 inches. I round to 47 and let the latch side carry the extra sixteenth.
Bottom clearance is separate: leave 2 inches minimum between the gate and the ground, more if you get frost heave or the path slopes. Every gate I’ve seen dragging had less than an inch when it was hung.
Substitute your own opening into that subtraction and every cut list below still works. Only the horizontal numbers change.
A word about pool gates before you build anything
If this gate is any part of a pool barrier, stop and read your local code first. In most US jurisdictions a pool gate has to swing outward, away from the pool, be self-closing and self-latching, stand at least 48 inches tall, and have the latch release at least 54 inches above grade. If the release is lower than that, it has to sit on the pool side, at least 3 inches below the gate top, with no openings larger than 1/2 inch within 18 inches of it.
Those numbers vary by state and county and I’d be doing you a disservice to let you build to mine. Call your building department. A gate that fails inspection is a gate you build twice, and the reason the rules exist is worse than that.
Build 1: Flat frame with vertical pickets
The default, and there’s nothing wrong with being the default. Stiles run full height, rails sit between them, pickets go on the face.
Cut list — 47″ x 60″ gate
| Part | Material | Qty | Length |
|---|---|---|---|
| Stiles (vertical) | 2×4 | 2 | 60″ |
| Rails (horizontal) | 2×4 | 3 | 40″ |
| Diagonal brace | 2×4 | 1 | ~66-1/2″, cut to fit |
| Pickets | 1×6 | 8 | 60″ |
Rails are 40 inches because two 2×4 stiles eat 3-1/2 inches each off the 47-inch width. The brace runs the inner diagonal, roughly 53 inches of height by 40 of width, which lands near 66-1/2 inches on the long points. Don’t trust that number. Scribe it.
Eight pickets at 5-1/2 inches actual width with a 1/2 inch gap covers 47-1/2 inches, so you’ll rip the last picket narrower. Do that rip on the hinge side where nobody looks.
Weight: roughly 50 lbs in cedar, 70 in pressure-treated.
Build 2: Z-frame, ledged and braced
No vertical stiles at all. Two or three horizontal ledgers, one diagonal, pickets screwed to the face. This is the cheapest gate that actually works, and it’s what most farm gates have been for two hundred years.
Cut list
| Part | Material | Qty | Length |
|---|---|---|---|
| Ledgers | 2×4 | 3 | 45″ |
| Diagonal brace | 2×4 | 1 | cut to fit |
| Pickets | 1×6 | 8 | 60″ |
Ledgers are inset an inch from each edge so they don’t telegraph through the picket gaps.
The catch: the rigidity comes from the pickets. Face-screw every picket to every ledger, two screws per crossing, and the assembly stiffens up considerably. Screw them sloppily and you have a very expensive wind chime.
Weight: about 40 lbs in cedar. The lightest option here, which matters if your posts are marginal.
Build 3: Half-lap frame
Same shape as Build 1, but the corners are half-lapped instead of butted. You remove half the thickness from each mating piece so they interlock flush.
Cut list
| Part | Material | Qty | Length |
|---|---|---|---|
| Stiles | 2×4 | 2 | 60″ |
| Rails | 2×4 | 2 | 47″ (full width) |
| Diagonal brace | 2×4 | 1 | cut to fit |
| Pickets | 1×6 | 8 | 60″ |
Note the rails changed. In a half-lap the rails run the full 47 inches because they overlap the stiles rather than sitting between them. Getting this wrong is the most common half-lap mistake and you find out after you’ve cut.
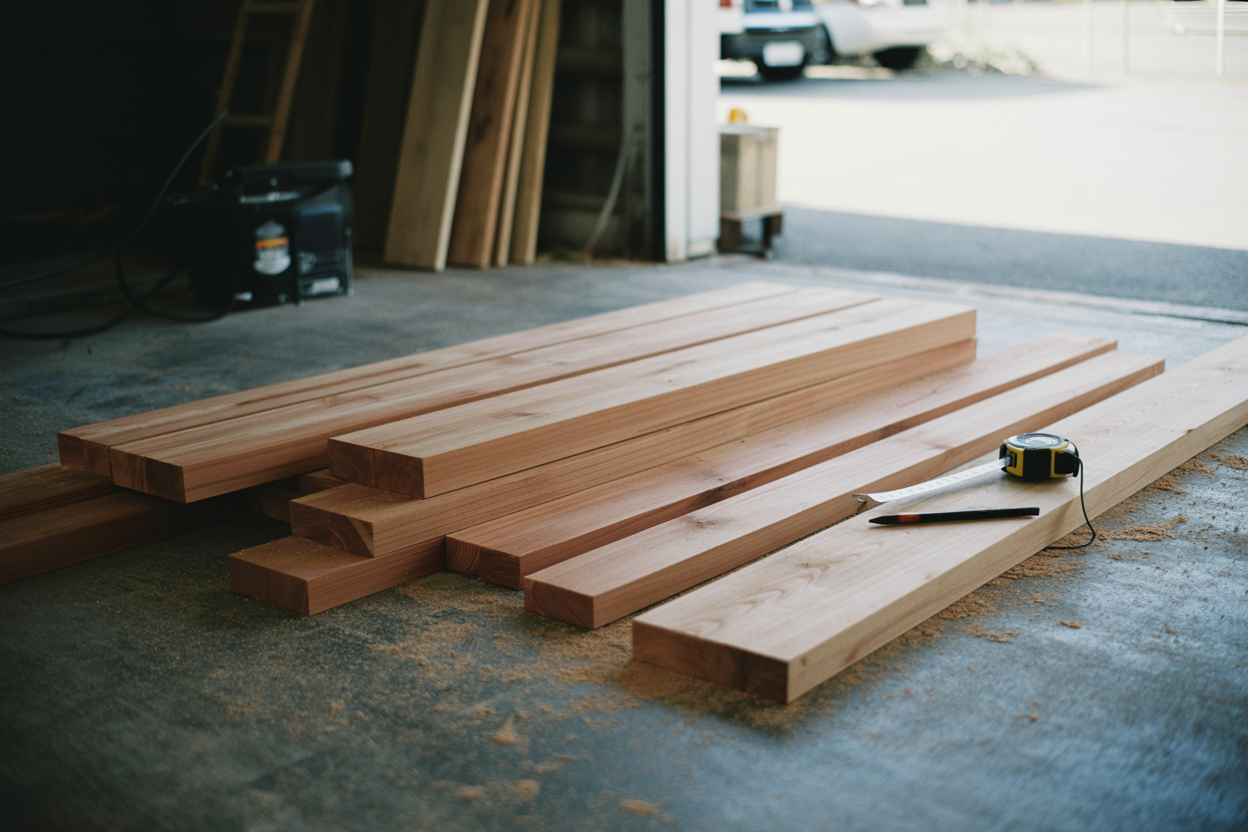
A 2×4 is 1-1/2 inches thick, so each lap is 3/4 inch deep and 3-1/2 inches wide. Set your circular saw to exactly 3/4, make a series of kerfs across the waste, and knock the fingers out with a chisel.
This is the gate that outlives you. It’s also an extra two hours and a chisel you may not own.
Build 4: Horizontal slat, modern
The one everybody wants right now, and the one that fails most often.
Cut list
| Part | Material | Qty | Length |
|---|---|---|---|
| Stiles | 2×4 | 2 | 60″ |
| Rails | 2×4 | 2 | 40″ |
| Hidden diagonal | 2×4 | 1 | cut to fit, back face |
| Slats | 1×4 | 16 | 47″ |
Sixteen 1×4 slats at 3-1/2 inches with a 1/4 inch reveal covers 60 inches of height.
Here’s the problem. Horizontal slats spanning the full width give the frame nothing to push against, so the gate racks freely and the slats hide it until the whole thing is a parallelogram. It needs a real diagonal on the back face, running from the lower hinge corner to the upper latch corner. Yes, you can see it from behind. Build it anyway, or build the frame from steel and skin it with wood.
I’ve been asked to leave the brace off this one more than any other gate. The answer is no.
Weight: about 55 lbs.
Build 5: Board on board
Overlapping pickets front and back, so there’s no sightline through the gaps and no shrinkage gaps in winter. Genuinely private and it looks expensive.
Cut list
| Part | Material | Qty | Length |
|---|---|---|---|
| Stiles | 2×4 | 2 | 60″ |
| Rails | 2×4 | 3 | 40″ |
| Diagonal brace | 2×4 | 1 | cut to fit |
| Rear pickets | 1×6 | 6 | 60″ |
| Front pickets | 1×6 | 6 | 60″ |
Rear boards spaced about 4 inches apart, front boards centered over the gaps with roughly 1-1/2 inches of overlap on each side.
Weight: about 80 lbs, which is where hinges start to matter more than lumber. Three hinges, minimum, and heavy strap hinges rather than the stamped butt hinges that come in a blister pack.
Build 6: Arched top
Take any frame above and curve the top. One detail decides whether this works.
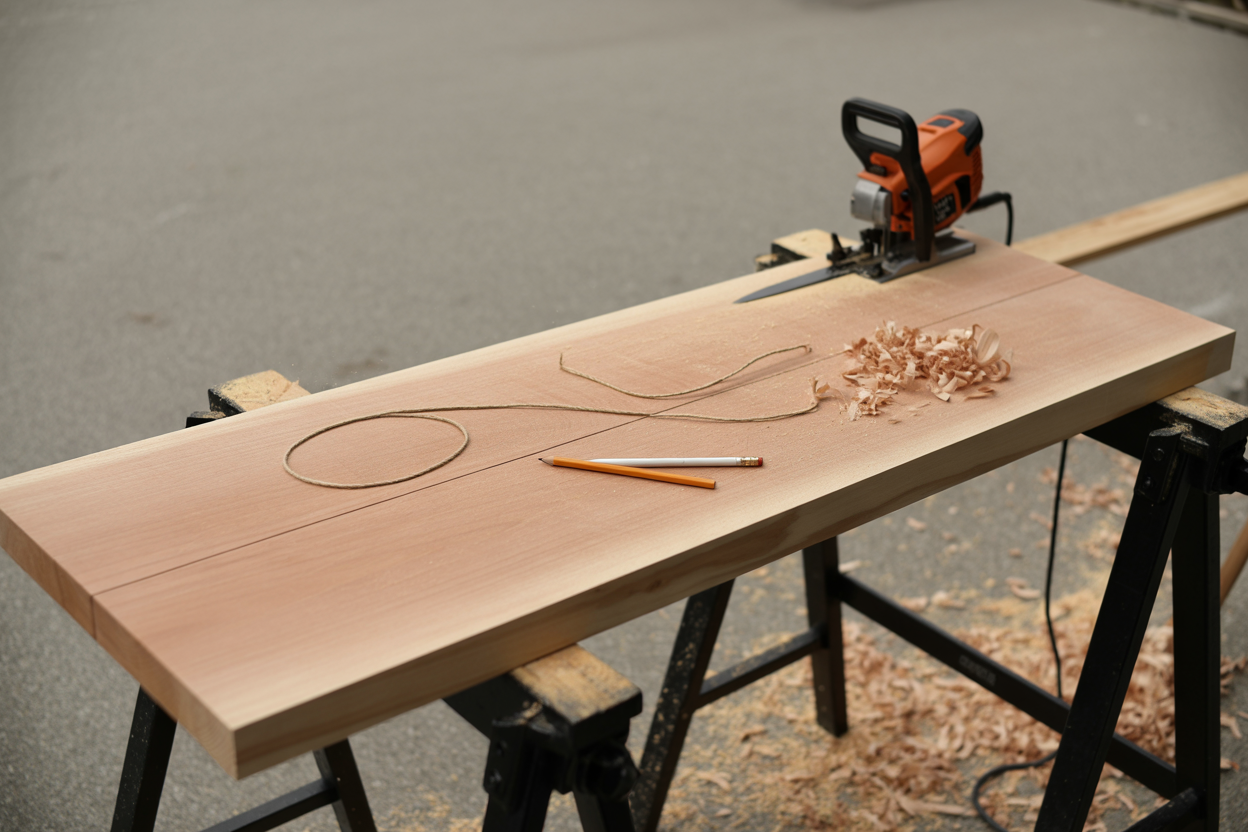
Cut the arc from a 2×10, not a 2×4. If you scribe a curve onto a 3-1/2 inch top rail and cut it, the rail is an inch and a half at the thin points and you’ve thrown away the top of your frame. A 9-1/4 inch board gives you the sweep and still leaves 3 inches of rail everywhere along the curve.
To draw it: pin a string to a stake far out on the lawn, hold a pencil at the other end, and swing the arc. A 47-inch gate with a 4-inch rise wants a radius near 74 inches. Trace, cut with a jigsaw, sand the saw marks out before you finish it because they show through paint forever.
Pickets get scribed individually to the underside of the arch. Budget an extra hour and accept that the first two will be wrong.
Which one I’d actually build
For a trash can route that gets used daily and nobody photographs: Build 2. It’s light, it’s cheap, and light gates don’t sag.
For a gate that’s visible from the street: Build 3, half-lapped. The extra two hours buys you a gate that still closes right in fifteen years.
For a pool barrier: whichever one your inspector signs off on, with self-closing hinges and a latch at the height your code specifies.
Whatever you pick, the diagonal brace runs from the bottom of the hinge side up to the top of the latch side. Backwards is worse than nothing.